Summary:
Choosing the Wrong Dumpster Size for Your Project
This is the mistake that costs people the most, and it happens in both directions. You either rent a dumpster that’s too small and end up needing a second one mid-project, or you overpay for a 30-yard container when a 20-yard would’ve handled everything just fine.
The problem is that most people eyeball their debris pile and guess. They don’t account for how much space things actually take up once they’re tossed into a container. A garage cleanout might look manageable until you realize that old furniture, boxes, and yard waste don’t pack down the way you’d expect.
Undersizing is expensive. If you run out of room halfway through your project, you’re either paying for a second rental or dealing with overflow fees and delays. That “cheaper” 10-yard dumpster suddenly costs more than the 20-yard you should’ve booked in the first place. And if you’re in San Francisco County, CA, where projects often involve tight timelines and permit logistics, those delays add up fast.
How to Calculate the Right Dumpster Size
Start by thinking in terms of pickup truck loads, not just square footage. A 10-yard dumpster holds about three pickup truck loads. A 20-yard holds about six. If you’re cleaning out a basement or doing a bathroom remodel, you’re probably looking at a 10 to 15-yard container. Multi-room renovations or whole-house cleanouts typically need a 20-yard. Major construction or large-scale demolition work? That’s 30 to 40-yard territory.
But here’s where it gets tricky: dumpster sizes refer to volume, not weight. A 20-yard dumpster gives you 20 cubic yards of space, but that doesn’t mean you can fill it with 20 cubic yards of concrete. Weight limits matter just as much as physical capacity, and we’ll get to that in a minute.
The type of debris you’re tossing matters too. Light materials like furniture, cardboard, and general household junk? You can usually fill the container closer to the top without hitting weight limits. Heavy materials like dirt, brick, concrete, or roofing shingles? You’ll max out the weight allowance long before you fill the space.
A good rule of thumb: if you’re unsure between two sizes, go with the larger one. The cost difference between a 15-yard and a 20-yard dumpster is usually $50 to $100. The cost of needing a second rental or dealing with overage penalties? Easily double that. You’re not saving money by cutting it close.
Talk to us about your specific project. Describe what you’re throwing away and roughly how much of it there is. We’ll help you size it correctly instead of just upselling you to the biggest option. We ask questions about your debris type and project scope because we want to get it right the first time.
And one more thing: measure your placement area before you book. A 20-yard dumpster is typically 22 feet long. If your driveway is only 18 feet, that’s a problem you want to catch before the truck shows up. Most dumpster deliveries need about 60 feet of straight access and 20 to 30 feet of overhead clearance for the truck to maneuver safely.
What Happens When You Get the Size Wrong
Start by thinking in terms of pickup truck loads, not just square footage. A 10-yard dumpster holds about three pickup truck loads. A 20-yard holds about six. If you’re cleaning out a basement or doing a bathroom remodel, you’re probably looking at a 10 to 15-yard container. Multi-room renovations or whole-house cleanouts typically need a 20-yard. Major construction or large-scale demolition work? That’s 30 to 40-yard territory.
But here’s where it gets tricky: dumpster sizes refer to volume, not weight. A 20-yard dumpster gives you 20 cubic yards of space, but that doesn’t mean you can fill it with 20 cubic yards of concrete. Weight limits matter just as much as physical capacity, and we’ll get to that in a minute.
The type of debris you’re tossing matters too. Light materials like furniture, cardboard, and general household junk? You can usually fill the container closer to the top without hitting weight limits. Heavy materials like dirt, brick, concrete, or roofing shingles? You’ll max out the weight allowance long before you fill the space.
A good rule of thumb: if you’re unsure between two sizes, go with the larger one. The cost difference between a 15-yard and a 20-yard dumpster is usually $50 to $100. The cost of needing a second rental or dealing with overage penalties? Easily double that. You’re not saving money by cutting it close.
Talk to us about your specific project. Describe what you’re throwing away and roughly how much of it there is. We’ll help you size it correctly instead of just upselling you to the biggest option. We ask questions about your debris type and project scope because we want to get it right the first time.
And one more thing: measure your placement area before you book. A 20-yard dumpster is typically 22 feet long. If your driveway is only 18 feet, that’s a problem you want to catch before the truck shows up. Most dumpster deliveries need about 60 feet of straight access and 20 to 30 feet of overhead clearance for the truck to maneuver safely.
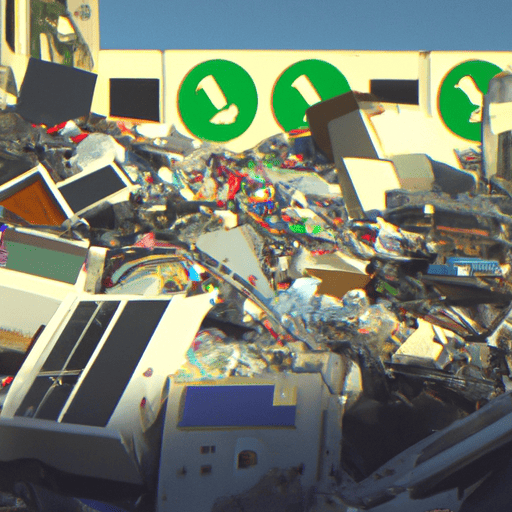
Ignoring Weight Limits and Overage Fees
Here’s where a lot of people get blindsided. You rent a 20-yard dumpster, thinking you’re paying one flat rate. The container arrives, you fill it up, and everything seems fine. Then you get the invoice and there’s an extra $200 charge for exceeding the weight limit.
Weight limits are separate from the physical size of the dumpster. Most rentals include a set tonnage allowance—usually between one and five tons depending on the size you rent and the type of debris. If your load weighs more than that, you’re paying a per-ton overage fee. Those fees typically run $50 to $150 per additional ton, and they add up fast if you’re not paying attention.
The tricky part is that weight isn’t always intuitive. A dumpster that looks half-full can still be over the weight limit if it’s loaded with heavy materials like concrete, brick, dirt, or asphalt. On the flip side, you can fill a container to the brim with lightweight stuff like cardboard, insulation, or furniture and stay well under the limit.
How to Avoid Weight Limit Penalties
First, know what’s included in your quote. When you get pricing, ask specifically: “What’s the weight limit, and what happens if I go over?” Some companies include one ton, others include three or more. The base price might look cheaper, but if it only covers one ton and you’ve got two tons of debris, you’re going to pay extra no matter what.
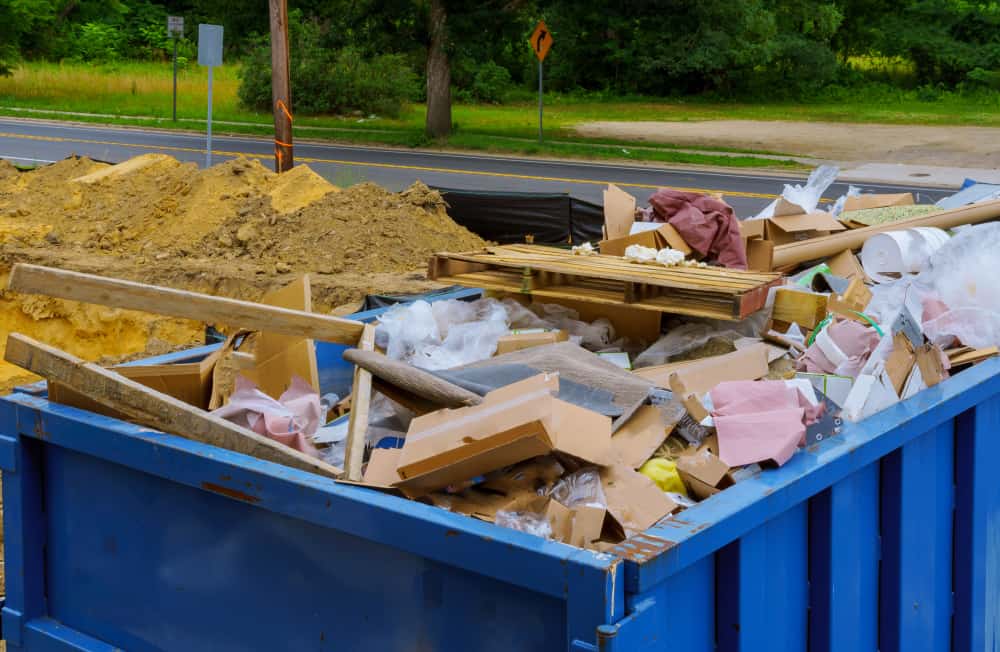
If you’re dealing with heavy materials, tell us upfront. Concrete, dirt, brick, roofing shingles, and similar dense debris should almost always go in a smaller dumpster—typically a 10-yard. That’s not because you don’t have enough volume. It’s because the weight adds up so quickly that you’ll max out the tonnage limit before you fill the space. A 10-yard dumpster full of concrete is still going to weigh several tons, and that’s usually close to the maximum a truck can safely haul.
For mixed debris—say, a home renovation where you’ve got drywall, wood, some tile, and miscellaneous junk—you’re usually safe with a standard weight limit. But if you’re adding in heavy items like a cast iron tub, old appliances, or a pile of dirt from landscaping work, those can push you over the edge. When in doubt, ask if you can upgrade to a higher weight allowance upfront. It’s almost always cheaper to increase your limit when you book than to pay overage fees later.
Rain and snow are another factor people forget about. If you’re expecting bad weather during your rental period and you’re tossing absorbent materials like carpet, upholstered furniture, or wood, cover the dumpster with a tarp. Water adds weight fast. A sofa that weighs 150 pounds dry can weigh 300 pounds after a rainstorm. That extra weight counts against your limit, and it’s entirely preventable.
One more thing: don’t try to game the system by packing the dumpster down to fit more in. Compacting debris might give you more space, but it doesn’t change the weight. If anything, it makes it worse because you’re fitting more material into the same container. The landfill weighs your load regardless of how tightly it’s packed, and if you’re over the limit, you’re paying for it.
The best approach is transparency. Tell us what you’re throwing away, estimate the volume as accurately as you can, and we’ll recommend a weight limit that makes sense. We’re experienced with this and we’ll steer you in the right direction. And if you’re still not sure, it’s better to overestimate your weight needs than to underestimate and get hit with surprise fees.
What Overage Fees Actually Cost
Let’s put some numbers to this. Say you rent a 20-yard dumpster in San Francisco County, CA with a three-ton weight limit included in your $450 quote. Your project ends up generating four tons of debris. That extra ton is going to cost you somewhere between $50 and $150 depending on local landfill fees and the rental company’s pricing structure. Your total bill just jumped to $500 to $600.
Now imagine you didn’t realize concrete was that heavy, and you loaded up a 20-yard dumpster with demolition debris that weighs six tons. You’re three tons over the limit. At $100 per ton, that’s an extra $300. Your $450 rental just became $750. That’s not a small miscalculation—it’s a budget-buster.
And here’s the worst part: you usually don’t find out about overage fees until after pickup. The truck hauls your dumpster to the landfill, they weigh it, and then you get the invoice a few days later. There’s no chance to adjust, no opportunity to remove some of the debris and try again. You’re locked in.
Some companies are more forgiving than others. A few will give you a small buffer—say, 10% over the limit—before charging overages. Others are strict to the pound. That’s why it’s so important to clarify the terms upfront. Ask what the weight limit is, how overages are calculated, and whether there’s any flexibility. If the company can’t or won’t answer those questions clearly, that’s a red flag.
The good news is that overage fees are completely avoidable if you plan ahead. Know your debris type, estimate your weight honestly, and choose a dumpster size and weight limit that matches your project. It’s not complicated, but it does require a little bit of homework before you book. That ten minutes of research can save you hundreds of dollars and a lot of frustration.
Skipping Permit Research and Placement Planning
Permits aren’t the most exciting part of renting a dumpster , but they’re one of the easiest ways to rack up fines and delays if you skip them. In San Francisco County, CA, if you’re placing a dumpster on the street or any public right-of-way, you need a street space permit from San Francisco Public Works. That permit requires at least 10 business days of advance notice for verification. If the dumpster shows up without a permit and a city inspector drives by, you’re looking at fines, possible towing of the container, and the headache of starting over.
Most people assume they can just put the dumpster in their driveway and avoid the whole permit issue. That works if you have the space. But not every property has a driveway that’s big enough, accessible enough, or free of obstacles. If your only option is the street, you need that permit. And if you’re in a neighborhood with strict HOA rules or narrow streets, placement becomes even more complicated.
Even if you’re placing the dumpster on private property, you still need to think about access. The delivery truck needs about 60 feet of straight-line space to back in and drop the container. It also needs 20 to 30 feet of overhead clearance to lift and lower the dumpster safely. Low-hanging tree branches, power lines, or a carport that’s too short can all block delivery. If the driver shows up and can’t place the dumpster, you’re paying a trip fee—usually $195 to $350—and you still don’t have your container.